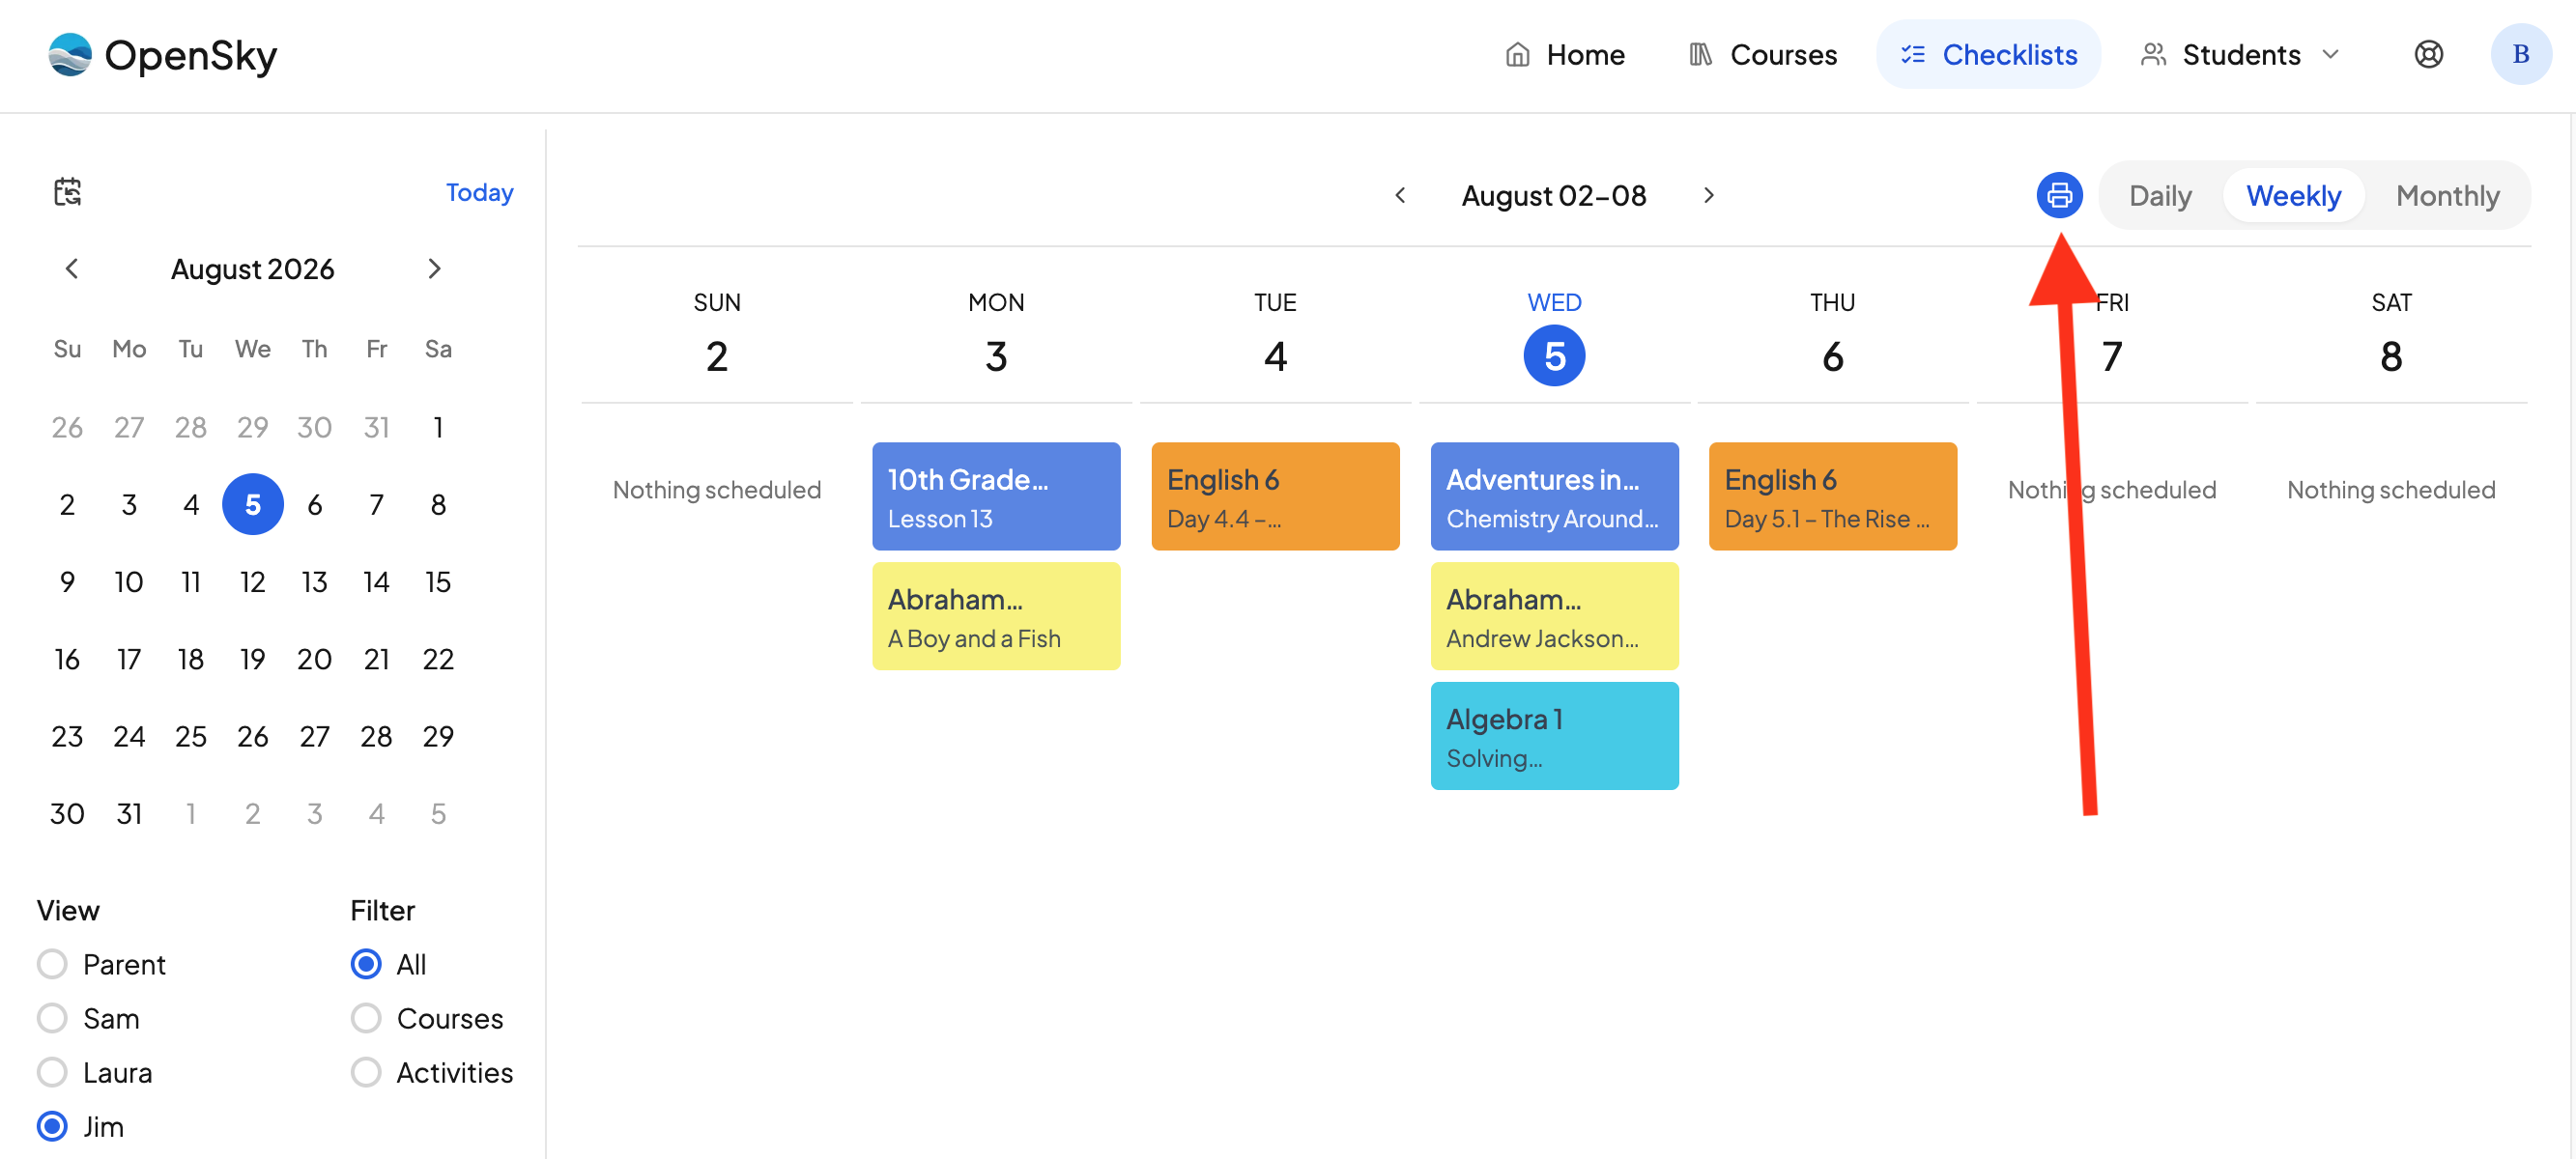
You can print any day, week, or month from the checklist. Here is how:
- Go to Today or Upcoming.
- Click the Print button in the toolbar, on the right.
- Pick the Range and Date you want at the top of the dialog.
- Choose a format and options, then click Print.
You no longer have to switch the checklist to a particular view first. Whatever you were looking at, the dialog lets you pick what to print.
Choose a range and date
At the top of the dialog you will find two controls:
- Range — Day, Week, or Month.
- Date — which day, week, or month to print. Today's date is picked for you, and the list shows nearby periods with friendly labels like "Today · Tuesday, September 22", "Sep 27 – Oct 3, 2026", or "October 2026".
Changing the range keeps your place, so switching from Day to Week gives you the week that day falls in.
Month is for one student at a time. If you are viewing the whole family, the Month option is unavailable and the dialog explains why: "Pick one student in the toolbar to print a month calendar." Pick a single person in the toolbar's student menu first.
Choose a format
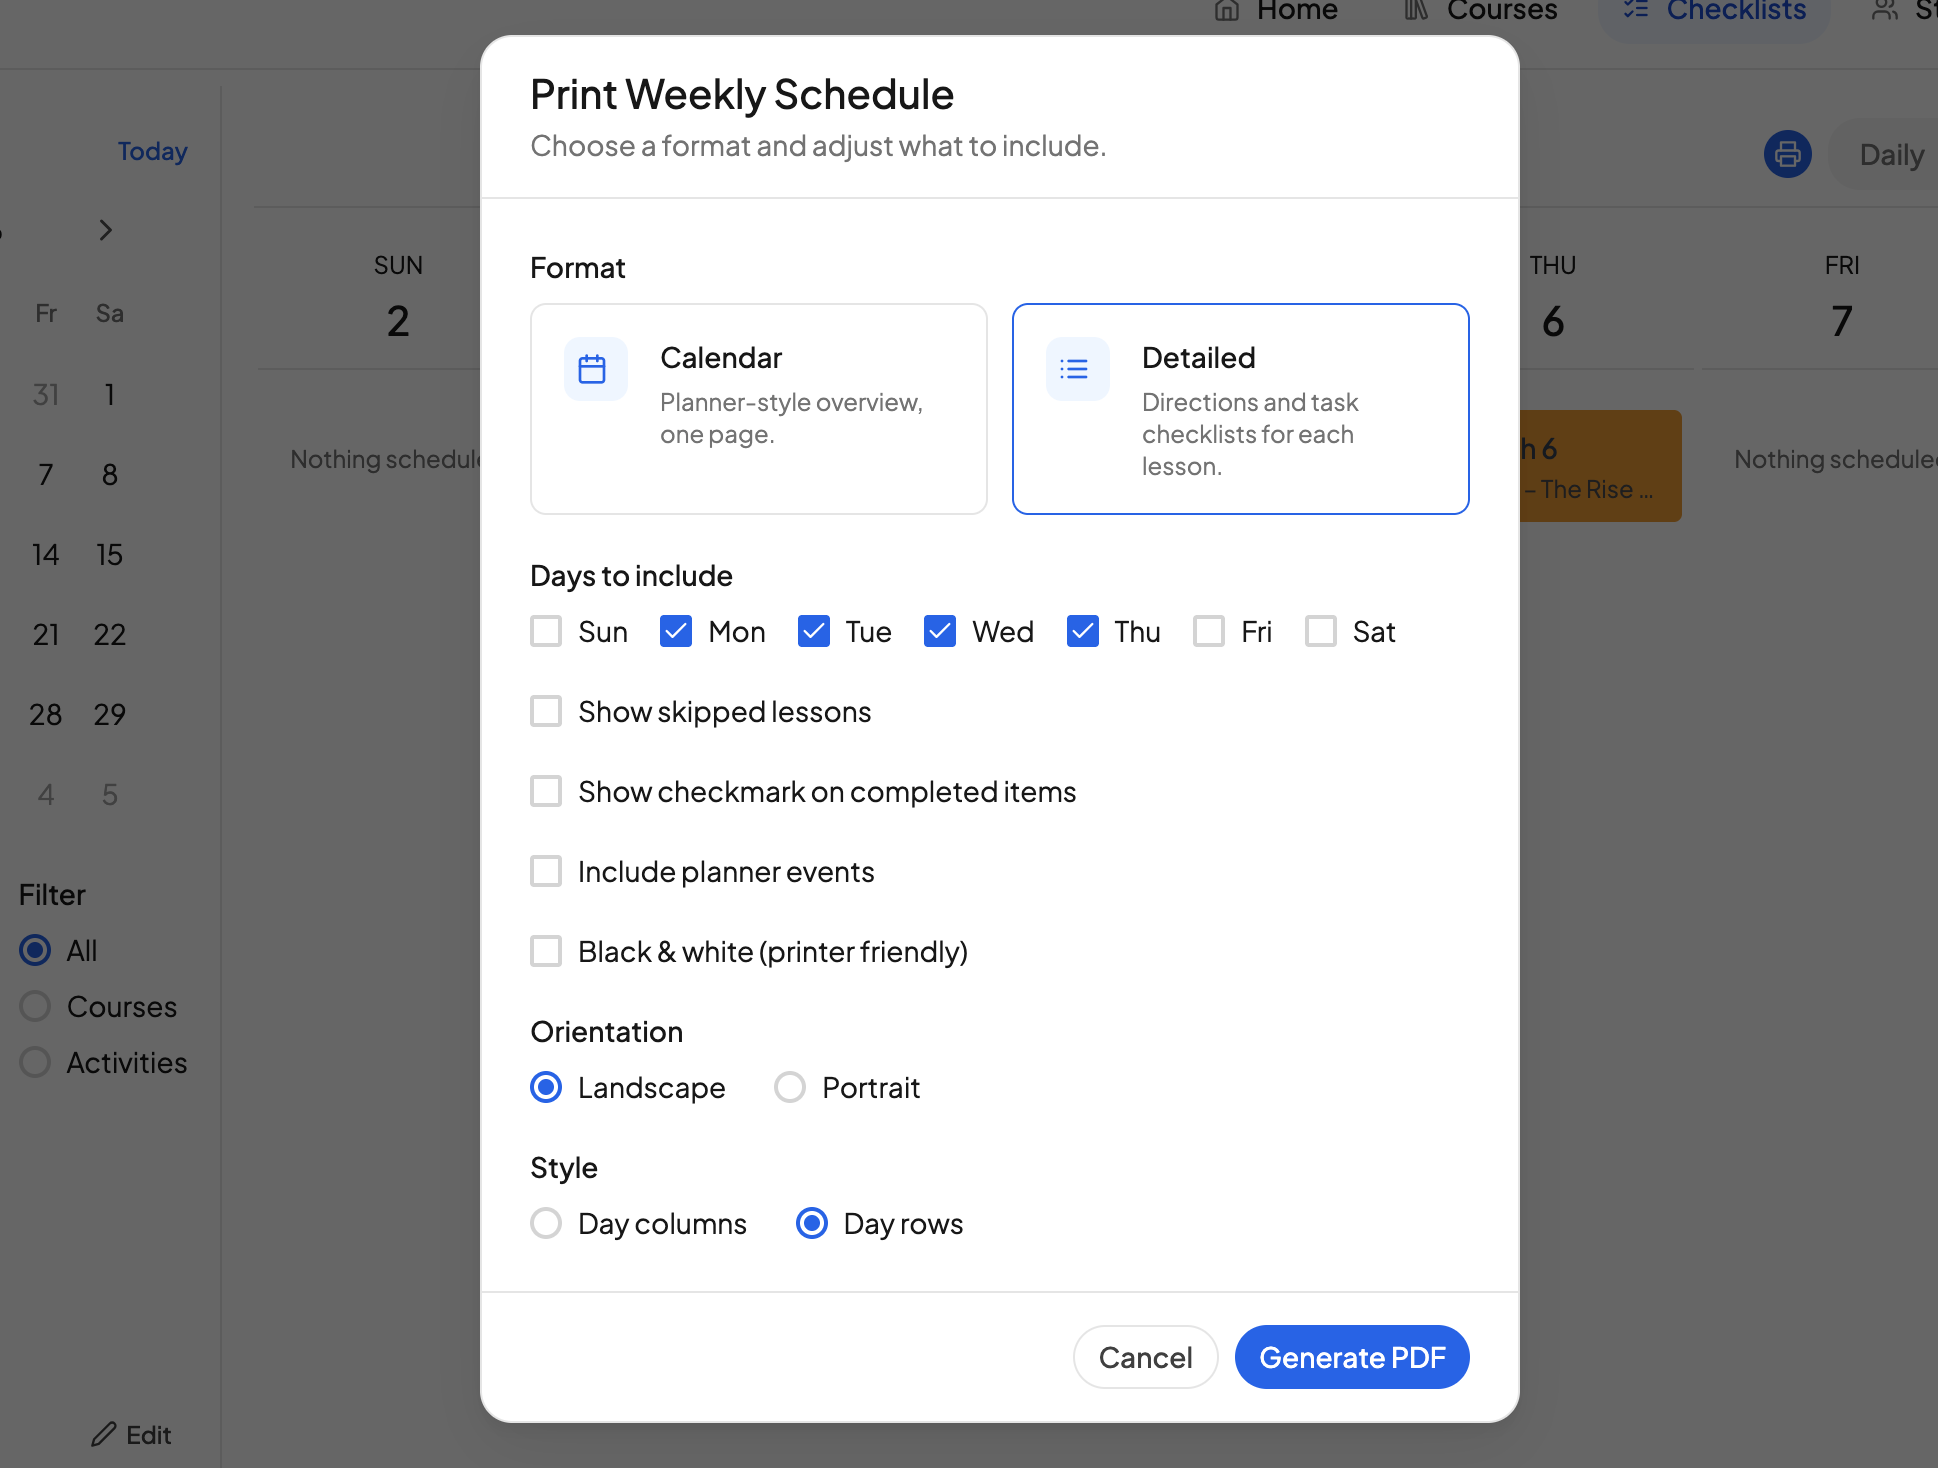
For a day or a week there are two options:
- Calendar. A planner-style overview on one page.
- Detailed. Also includes the lesson directions and any tasks that were added to each lesson.
The month range always prints as a calendar grid, so the format choice does not appear for it.
Pick your options
Below the format you can adjust how the page is laid out:
- Days to include. Tap the day chips to include or drop individual days. This appears for the week range only.
- Orientation. Landscape or Portrait.
- Style. Day columns arranges the printout in daily columns like a traditional weekly plan. Day rows arranges the lessons for each day side by side, which can be easier to read when there are more lessons.
Open More Settings for five extra switches:
- Show skipped lessons
- Show checkmark on completed items
- Add lesson checkboxes
- Include planner events
- Black & white (printer friendly)
Your choices are remembered for next time.
Print for one student or everyone
The button at the bottom prints what you have set up:
- Print — the person currently selected in the toolbar.
- Print all students (N) — one PDF covering everyone. When you are viewing the whole family this becomes the main button.
Month calendars are single-student, so Print all students does not appear for that range.
Need more help?
Reach out any time at support@openskyplanner.com and we will be happy to help.